
Technical
Turn a sketch or photo into a 3D CAD model with AI
Upload a sketch or photo and GroutApp's 3D CAD assistant builds an editable parametric model. Add dimensions for accuracy. Best for parts, not organic shapes.
Anish Menon · CEO & Founder, Grout
· 6 min read
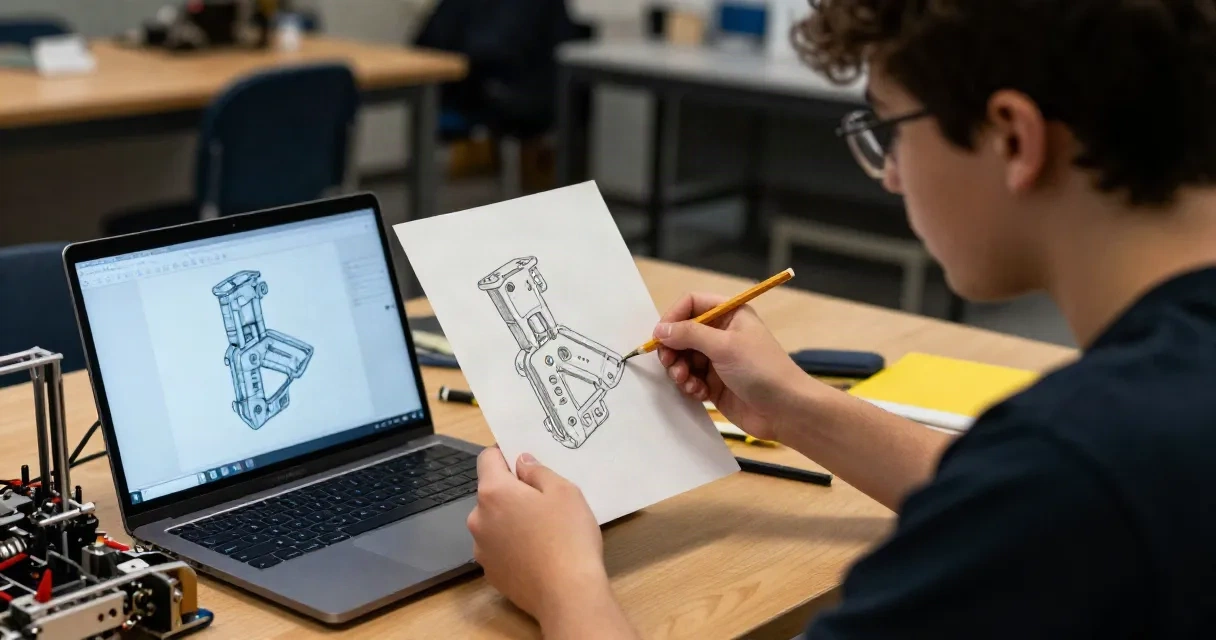
Upload a sketch or photo of a part and the 3D assistant in GroutApp 3D CAD Studio will read the geometry, interpret any dimensions you have written on it, and build an editable parametric CAD model with a feature tree you can modify. The model is compared with your reference picture so you can check that the result matches what you wanted.
This guide explains how the process works, what you need to provide for a good result, and where the technique is useful for students working through engineering drawings or modelling physical parts from photographs.
How the 3D assistant reads sketches and photos
The assistant accepts attachments by button, paste or drop. You can send a photograph of a hand sketch, a scan of a textbook drawing, a photo of a physical part, or a page from a PDF. The system reads the image into a modelling brief that describes the part's features, dimensions and constraints.
Once the brief is ready, the assistant builds the model as parametric CAD. You see a feature tree listing every operation: base extrude, fillets, holes, chamfers, patterns. Each feature can be edited after the model is complete, so if a dimension is wrong or a detail was missed, you change the tree rather than starting again.
After the model is built, the assistant renders a view that matches the angle of your reference picture and compares the two. This step catches obvious mistakes, like a missing hole or a fillet on the wrong edge, before you open the file.
The assistant can run as a visible team with three agents: a planner, a builder and a reviewer. You see live status for each agent and can send a message while the work is in progress, for example to add a missing dimension or ask for a section view.
What you need for a reliable result
Clear views matter. A single orthographic front view with dimensions marked works better than a blurry angled photograph with no scale. If you have a textbook isometric drawing, add arrows or notes to indicate which edges are horizontal and which are vertical in the real part.
Write dimensions on the sketch. The assistant can infer some proportions from the image, but explicit measurements in millimetres or inches produce accurate models. Mark diameters for holes and cylinders, lengths for rectangular sections, and radii for fillets. If the sketch already has dimension lines and numbers, that is ideal.
Model one part at a time. If your photo shows an assembly with five components, either crop to isolate each part or tell the assistant which piece to build. Assemblies with multiple parts in one image often confuse the geometry extraction.
Hidden dimensions are a problem. If a feature is behind another feature in the photo, or if the sketch only shows one side of a symmetric part, state the missing measurements in your prompt. For example, "the slot on the back face is 10 mm deep" or "the part is 50 mm thick".
Where this approach works well
Engineering students working through projection exercises can photograph their hand sketches and generate reference models to check their line work. The parametric feature tree also shows the modelling sequence, which is useful for learning how to break a complex part into simple operations.
If a textbook gives a dimensioned isometric drawing and asks you to draw the front, top and side views, you can build the 3D model first and use the section view or orthogonal camera tools to verify your projections. The recent engine includes section views and a render workspace, so you can cut through a part or produce a shaded image for a report.
Laboratory work that involves measuring a physical part is faster when you photograph the part with a ruler in the frame, mark the key dimensions on the printout, and upload that annotated photo. The assistant builds the model and you compare the feature tree against your measurement notes.
Reverse engineering a simple bracket or fixture is practical if you can photograph it from multiple angles and note the dimensions. The assistant cannot perform photogrammetry or produce mesh models from multiple photos, but it can interpret a well-documented single view and build parametric geometry you can export as STEP or modify in the CAD studio.
Honest limits of image-to-CAD conversion
Organic shapes with smooth curves or sculptural surfaces are difficult. The assistant is built for parts with flat faces, cylindrical holes, fillets and chamfers. If the geometry cannot be described as a sequence of sketches and extrudes, you will need to model it by hand or use a different tool.
The system does not generate mesh or STL files from photos. The output is always parametric CAD with a feature tree. If you need a mesh for 3D printing, export the finished model as STL from the CAD studio after you have checked the dimensions.
Accuracy depends on the quality of your input. A low-resolution photo with no dimensions will produce a proportional model that may be the wrong size. A high-resolution scan with dimensions written clearly will produce a model with correct measurements. Always verify critical dimensions after the model is built.
Some features are easier to add manually. Cosmetic threads, frame members and two-sided extrudes are supported in the engine, but if the sketch does not show them clearly, the assistant may skip them. You can add these features yourself by editing the tree or asking the assistant to insert a specific operation.
Using the 3D assistant offline
The 3D CAD Studio assistant runs on your own desktop as part of GroutApp. Once you have signed in and activated your licence, the core modelling tools work without a connection. You download GroutApp to try it, then continue on a yearly subscription if it suits your workflow.
The offline design means your sketches and photos stay on your machine. This matters in coursework and laboratory environments where you may be working with proprietary designs or assessment materials that should not be uploaded to a cloud service.
The same assistant that builds models from images can also answer CAD questions, generate feature code, and explain modelling techniques. It shares the memory system with the rest of GroutApp, so your work in the 3D studio is linked to your notes and textbooks in the study module.
Practical workflow for a hand sketch
Draw your part on paper with a pencil. Include dimension lines and numerical values for every important measurement. Photograph the sketch with your phone, making sure the lighting is even and the page fills the frame.
Open the 3D assistant and drop the photo into the chat. Add a prompt like "Build a parametric model of this bracket. All dimensions are in millimetres." The assistant will extract the geometry, list the features it plans to create, and build the model.
When the model is ready, the assistant shows you a comparison render. Check that every hole, fillet and chamfer is present and correctly sized. If something is missing, reply with "Add a 5 mm fillet to the top edge" or "The base should be 3 mm thick, not 5 mm."
Open the CAD file from the chat. The feature tree appears in the left panel. Edit any feature by double-clicking it, changing a dimension, and confirming. The model updates immediately. Export as STEP, IGES or STL when you are satisfied with the result.
This workflow also applies to textbook drawings and photos of physical parts. The principle is the same: provide a clear reference image with dimensions, let the assistant build the parametric geometry, then check and refine the model. Students using GroutApp Circuit Board Studio for PCB design follow a similar process, attaching schematic images and component photos to generate editable layouts.